This process should be done no later than the third week of the previous month to make sure notices due early the next month are sent on time.
Step 1: Log onto Property Tree
Step 2: Go to Trust & Reports (left hand side panel)
Step 3: Click on "Inspection Summary" under the Property Heading
Step 4: Select the portfolio
Step 5: Select "Routine"
Step 6: Enter date from & date to
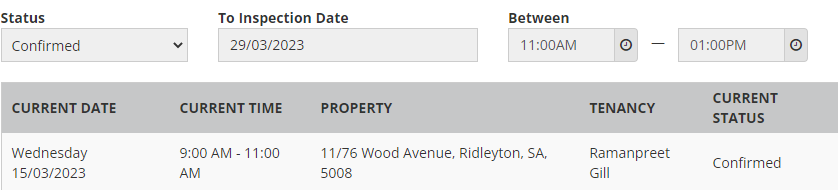
Step 7: Change status to "Tentative"
Step 8: Click on "Search"
The properties can now be sorted by date, property or suburb (by clicking on the heading banner)
Step 9: Select properties by ticking next to the property address on the left-hand side
Step 10 : Click on Bulk edit (just below the search results).
Step 11: Change the status to "confirm"
Step 12: Enter the inspection date
Step 13: Enter 2 hour time frame
Step 14: Click on Next
Step 15: Click on Next (Communication) If you are scheduling the routine within 2 weeks' time, then you'll need to Tick "Send Mail merge Communication Now"
Step 16: Click on Save
The inspection notifications are ready to be automatically sent out to tenants at 7-10 days prior to the routine inspection being due.
Reschedule a routine inspection in Property Tree
Step 1: Go to Trust & Reports > Inspection Summary
Step 2: Find the property by filtering by dates and property manager
Step 3: Tick the box in the left hand column

Step 4: Click on "Bulk Edit" (just below the search results)
Step 5: Change the status to "confirmed", enter the new date and time frame
Step 6: Click on "Next"
Step 7: Assign to the person doing the inspection
Step 8: Tick "Send Mail merge Communication Now" - the standard email template will merge ready to be sent immediately.
Step 9: Click " Next"
Step 10: Click "Save"
Sending TAI requests
Step 1: In Inspection Manager search for the "Pending" inspection and click on “Request TAI”.

Step 2: Next screen – select option 2 - "Send from IM"
Step 3: Next screen
Send from – change to name of person sending the request
Template – click on drop down arrow and select either “Default Tenant Assisted Template”
Step 4: Click on "Send"
The status will change to
