Magain City Realty use the standard Tenancy Agreement provided through REISA (Real Estate Institute of South Australia)
The tenancy agreement can be prepared through the Integration option in Property Tree.
As Magain City Realty manage properties under the NRAS, there are 2 templates available
CR Magain - Residential Tenancy Agreement (NRAS)
CR Magain - Residential Tenancy Agreement
Step 1: Search the property in Property Tree and highlight the tenant profile page
Step 2: Select the "Integrations" tab

Step 3: Click on the down arrow next to REI forms and then click Create REI Form
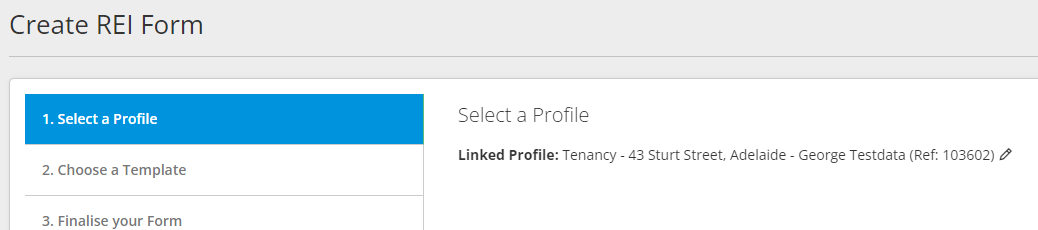
Step 4: Confirm the property address and tenancy and then click "Next"
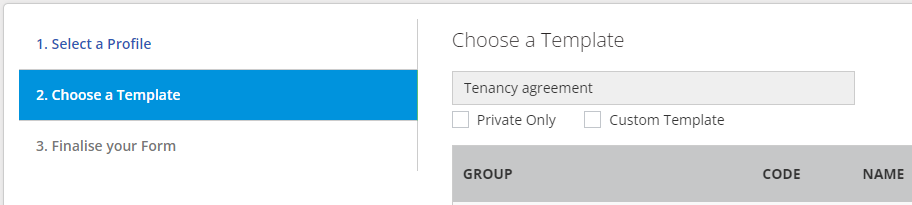
Step 5: In the search bar, type "CR Magain Residential Tenancy Agreement" and a selection of templates related to a Tenancy Agreement will list. Select the template to use (ensuring you click on the template which is ticked "Custom".) Click on "Next"
Step 6: Confirm that you have the correct property address and tenant. Change the Form Details Name to RTA - Property address.
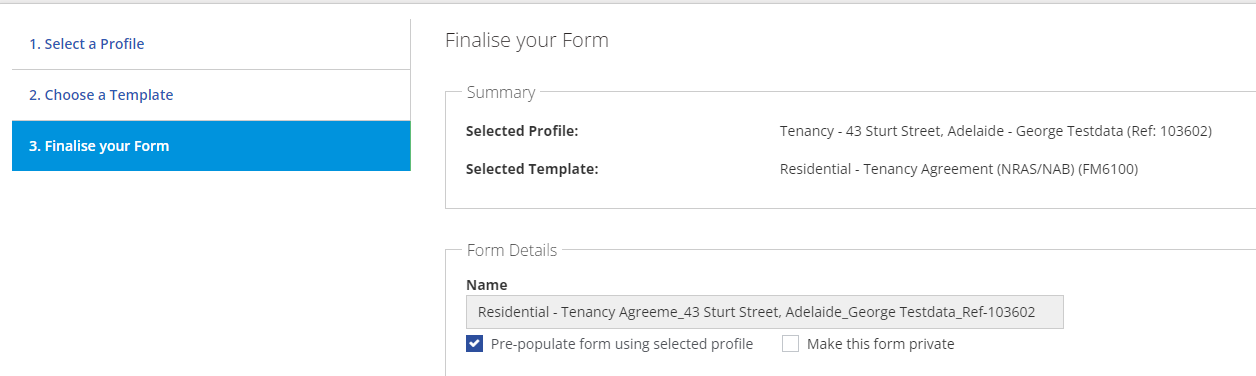
Step 7: Click on "Create Form" and you will be directed to REI Forms where the Tenancy Agreement is to be completed.
Step 8: The landlord's details, tenant details & term (dates) of the lease will pre-populate onto pages 1 & 2 (check that all of the information is correct)
Step 9: Work through the body of the agreement, filling in all other information as follows:
Section 48 Notice: Check landlord details are correct. Check with the Property Manager if there is an Embedded Electricity Network
Section 1: Tick the box below.

Section 2: Check landlord details correct.
Section 3: Check tenant details correct.
Section 4: Check property correct.
Section 5: Check dates correct.
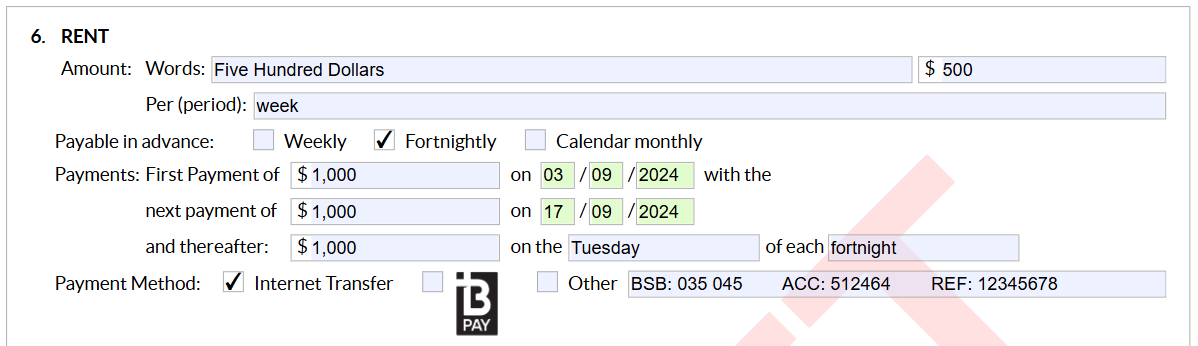
Section 6: The amount of rent will prefill as a $ amount. The remainder of this section is to be completed as per the following example with the rent first listed as weekly, then the payments set up as fortnightly. Make sure to add in the Tenancy Reference payment number too as that won't automatically transfer over.
Section 7: Type in the amount of bond payable (words & $ amount)
Section 8: The charges payable by the tenant are defaulted but if the landlord has made alternative arrangements, this can be edited.
Section 9: Default - do not change
Section 10: Exclusion of any part of the property – any room, outbuilding or appliance which is not available for tenant use must be noted in this section.
Section 11: Repair Instructions – leave as default “always contact Agent”
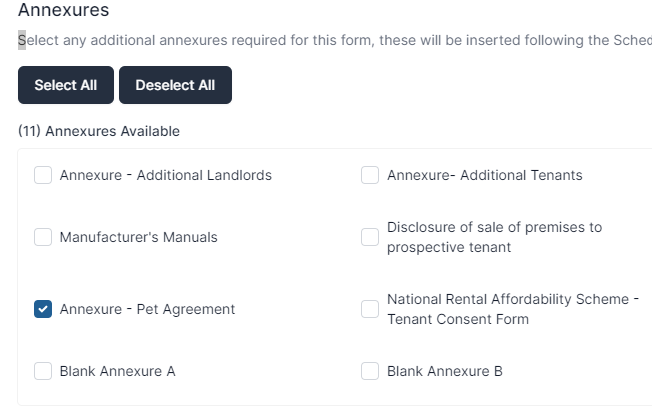
Section 12: Pets – tick "N/A" or if "yes" then scroll up to the top of the page and click on Annexures

Section 13: Additional Conditions – there are standard conditions included in all tenancy agreement which are on the template itself. If there are additional clauses specific to the property, these can be manually typed in.
IMPORTANT:
NRAS: If the property is under NRAS, Annexure A is to be attached outlining the conditions of tenancy under this scheme. Follow the same steps as additional an addendum for a pet, but selecting the National Rent Affordability Scheme - Tenant Consent Form. You will also need to attach the NRAS end date letter to the REI Forms before sending to PM/tenants for signing. This is a separate document that we attach to REI Forms as it is signed by AHC and will need to be edited first.
RENT INCREASE MID TENANCY: If a rent increase has been negotiated to occur mid tenancy, Clause 4.4 of the Terms & Conditions must be filled in. Failure to do so, means that you will be unable to seek a rent increase until a period of 12 months has lapsed.

Step 10: Review your document: Make sure all information has been entered and it is correct. Once the document is signed, all terms and conditions are binding.
Happy with the document? Click on "Finalise" to remove the "Draft" watermark and then click " Finalise" again.

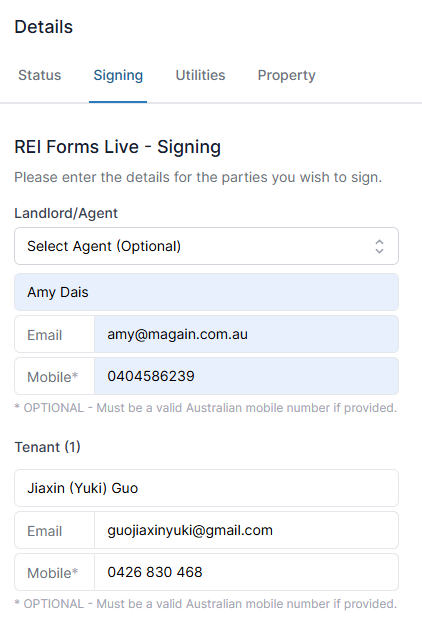
Step 11: Send to tenants for signing: The "Forms Live Sign" option will open on the right hand side of your screen for you to click on.
Step 12: Change the Landlord/Agent to 'Select Agent (Optional) then enter in the Property Managers details. Check tenant details correct. Scroll to the bottom and click Next.
Step 13: Set the signing order as the Landlord/Agent for Group 1, and the tenant/s for Group 2 using the up and down arrows.
Step 14: Custom Message - Subject should say- 'Sign Request - Lease for Property Address'. Message should say
Hi,
Please find included in this email a link to follow in order to execute your tenancy lease for your new home.
Once all parties have signed the documents a final executed copy will be immediately delivered via email to all parties. Please ensure you keep this in a safe place for future reference.
At signup, you will be presented with Keys, a 2nd copy of the Ingoing Inspection Report and any other remaining information not included in this pack.
If you have any queries about REI Forms Live or this process, please call our office on 08 8212 5899.
Kind Regards,
Property Manager
Step 15: Click on "Send".